Adobe Sign
Adobe Sign provides a secure way to electronically obtain signatures, making it easier to record customers’ acknowledgement of important documents. With it, you can easily send documents, request signatures, track and manage the signing process.
Please note
- Adobe Sign is only needed for signatures from parties external to KU.
- Documents needing a signature from a KU student or employee do not require the use of Adobe Sign. In these instances, the “Fill & Sign” function within Adobe Acrobat will be sufficient.
- It is still acceptable and often easier to send a PDF for the recipient to print, sign, scan and email back. This is the recommended option whenever practical.
- The KU Policy Library has entries on electronic signatures and the approval process for executing contracts on behalf of the university.
Please talk to your supervisor about whether or not Adobe Sign is appropriate for particular use cases.
Log in to Adobe Sign
- Browse to Adobe Acrobat Sign in.
- Select Sign in at the top-right edge of window.
- Enter your KU email address.
- Select Continue.
- Select Company or School Account if prompted.
- Enter your KU credentials at the KU log in screen.
Add Signature Fields and Send
- Sign in.
- Select Go to Adobe Sign under Request Signatures.
View ScreenshotSelect Go to Adobe Sign button.
Note: If you are using Adobe Acrobat, select Fill & Sign > Request Signatures. - Drag and drop a file(s) or choose Add Files.
- Change the message title and description as needed.
- Enter email recipients.
Note: If you are using Adobe Acrobat to request signatures, you will need to select More Options. - Optionally choose Complete in any order.
Note: If left off, recipients must sign in the order in which they are added to the email recipients section. - Optionally set a password, reminders, or reminder intervals.
- Select Preview & add signature fields.
- Select Next.
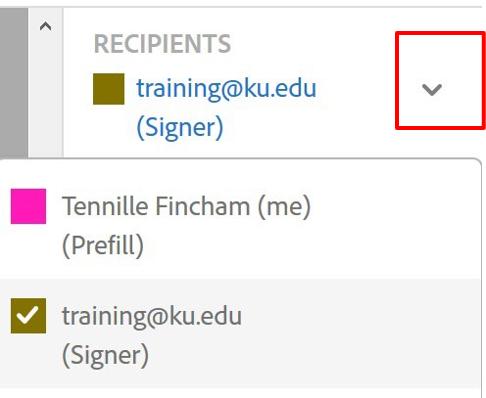
- Select Recipients to choose the signer.
View ScreenshotSelect down arrow and choose recipient. - Drag and drop signature, date, etc. fields for each recipient onto the document.
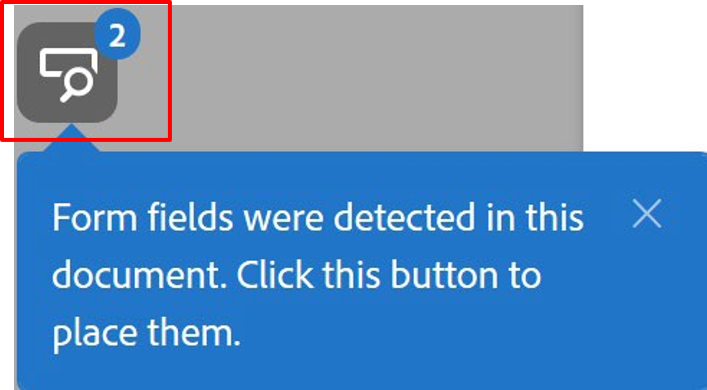
Notes: Some documents and fields may be automatically detected. Click the button next to the message to add the fields. Signature fields are required fields for all recipients.
View ScreenshotSelect button to add fields. - Select Send.
Important Note: Documents or business processes that require more than basic signature needs must be reviewed by General Council before creating a workflow.
Tips & Best Practices
- Keep an original unsigned copy of the file.
- Once a document is signed, it becomes a sealed PDF.
- Choose Go to Adobe Sign and select Manage to track progress.
Sign a Document, Contract, etc.
You may receive files from vendors outside of KU that require your signature. Types of files may include documents, agreements, contracts and more.
- Sign in.
- Select Sign from the top menu.
- Choose Fill & Sign.
- Drag and drop in the file or choose add files from my computer.
- Select Sign.
- Choose to add your signature or initials.
- Draw or type your name/initials if prompted.
- Select Next.
- Optionally send an email or generate a link to the file.
Create a Signature from a Mobile Device
- From the generated email choose Review and Sign.
- Select the Click here to sign box.
- Choose Mobile from the top menu.
- Enter your mobile number.
- Tap the link sent via text.
- Write your signature using a stylus or hand.
- Choose Done then select Apply.
Support
For help with Adobe Sign, please contact your departmental IT support staff or the IT Help Desk at ithelpdesk@ku.edu or 785-864-8080.