Splashtop Setup Instructions
Download and Install
Select and download the applicable Splashtop Business Access Application version for your device below.
Installation URLs
- Windows 11, 10, 8, 7, Vista*, XP* (.exe | .msi)
- Windows 11, 10, 8, 7, Vista*, XP* (portable version / zero install / run from USB drive)
- macOS 10.10* or newer
- macOS 10.10* or newer
- iPad, iPhone
- Android 4.0* or newer
- Chromebook (Android app – recommended)
- Chrome browser and Chromebook (Chrome app**)
2. Locate the downloaded installation file and open the file to install the application.
Log In and Register Device
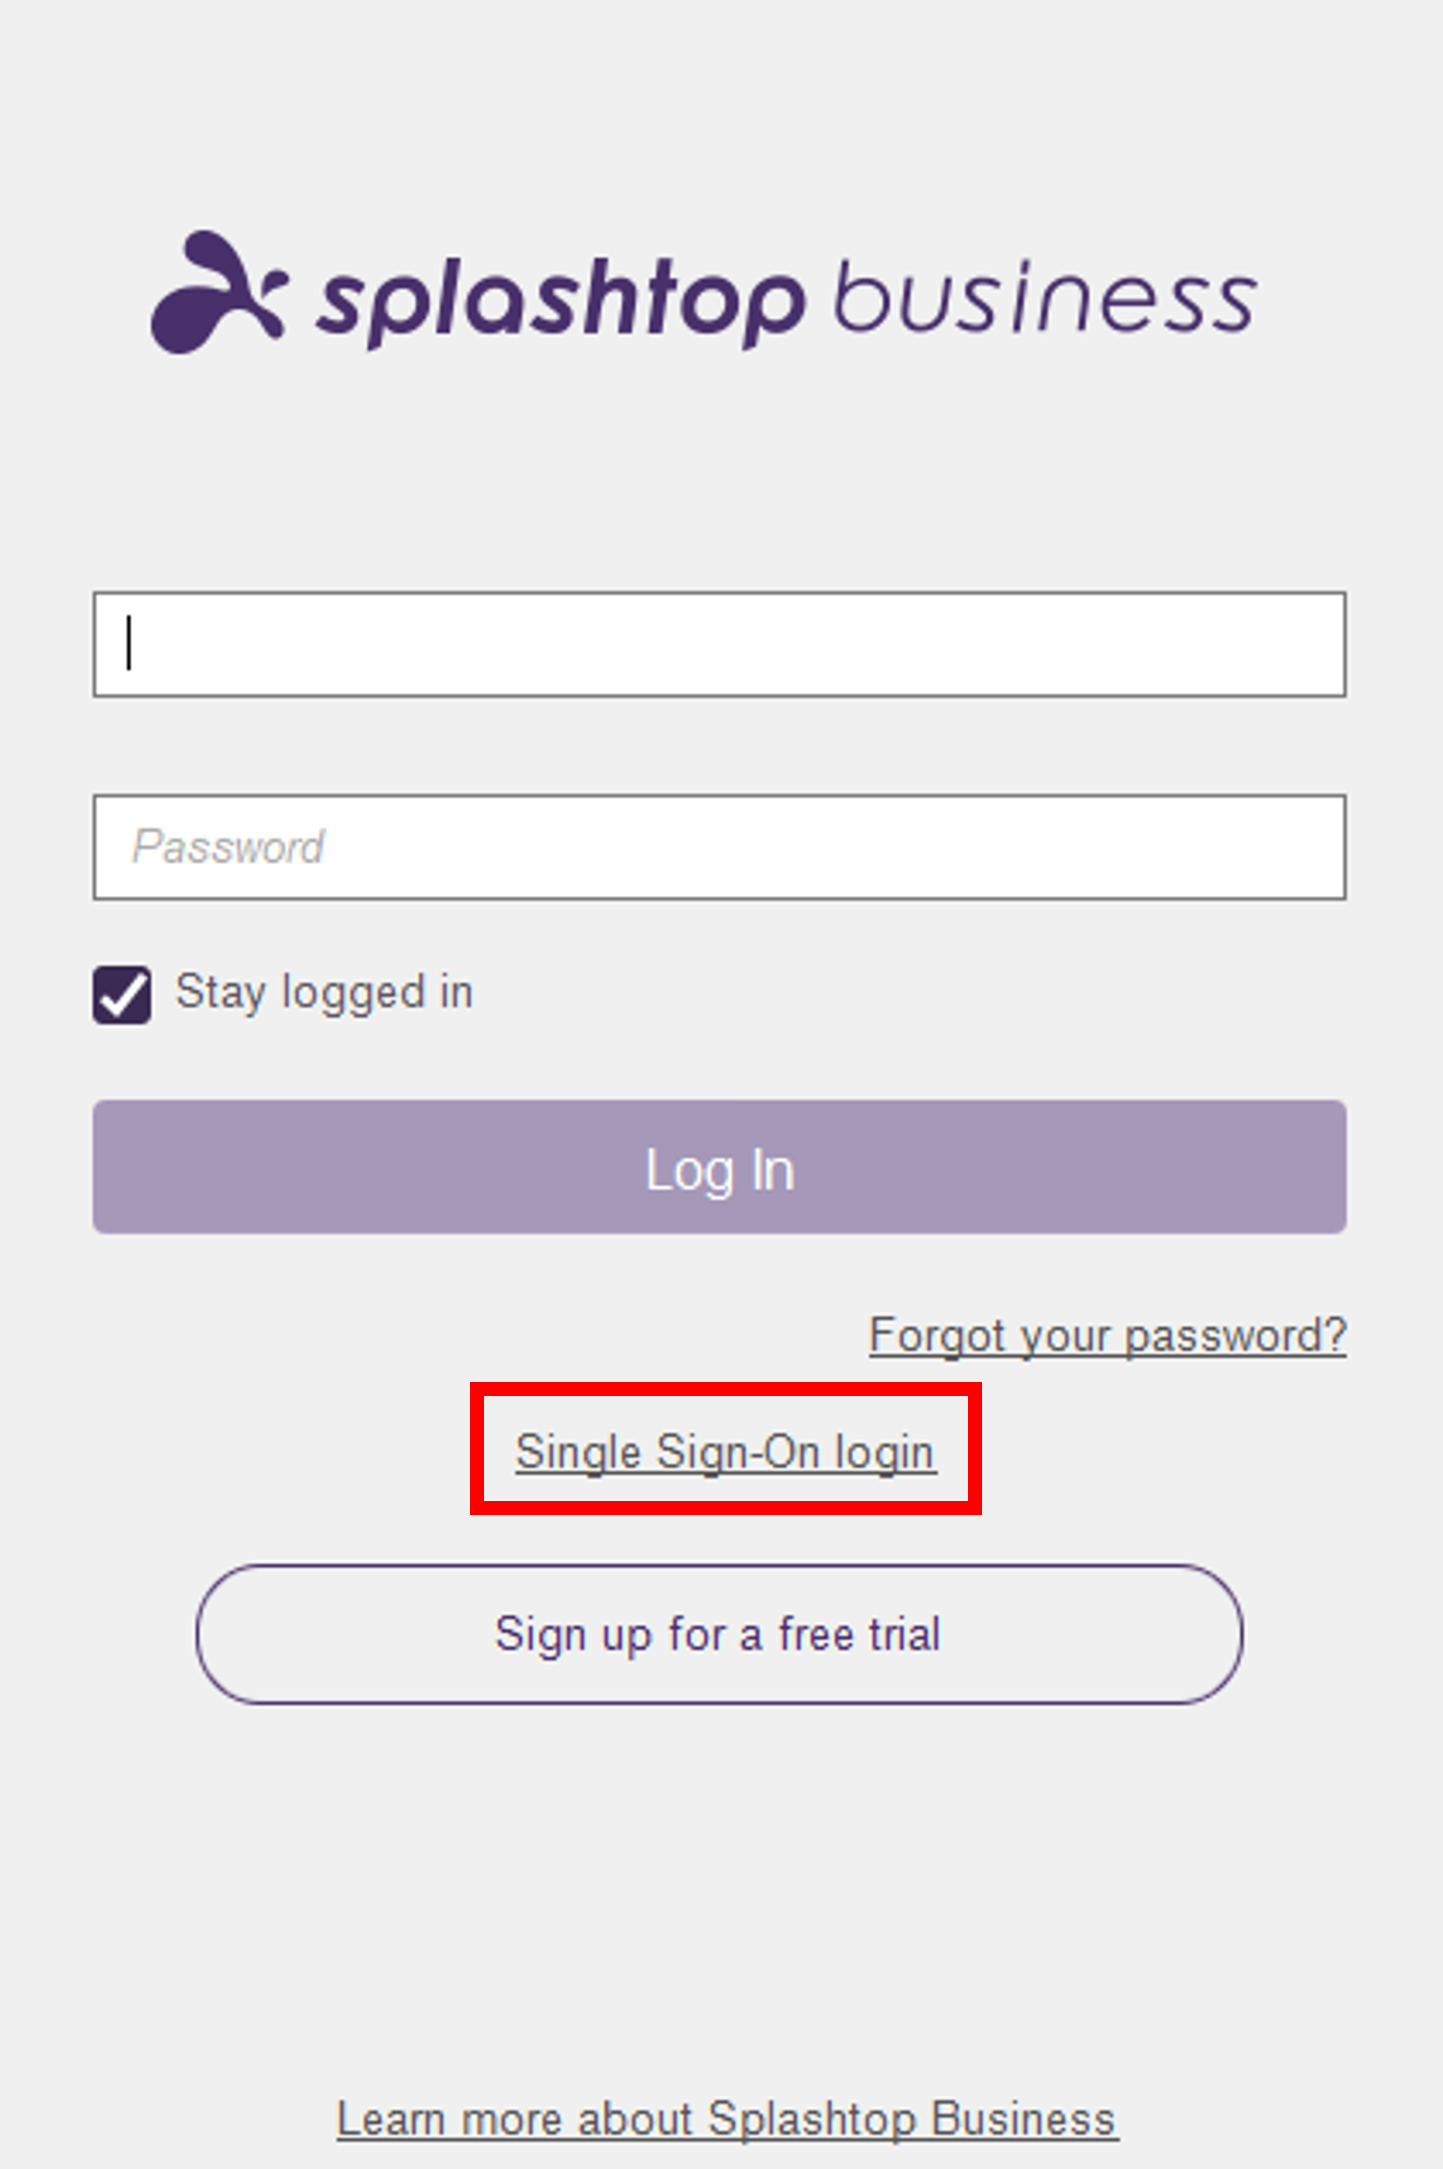
- Launch the Splashtop Business Access Application and select SSO login.
View ScreenshotSplashtop SSO - Enter your primary KU email address starting with your KU Online ID followed by @ku.edu (for example: a123b456@ku.edu). Note: Alias KU email addresses will not work.
- Select Log In.
- Enter your KU credentials at the KU single sign-on screen.
- Locate the email from Splashtop and follow the instructions to authenticate and activate your device.
View ScreenshotSplashtop Authentication Email - Return to the Splashtop desktop app and select OK to the authenticate prompt to activate your device.
View ScreenshotSplashtop Authentication Prompt - Return to the desktop program and select Log In to begin using the Splashtop Business Access app.


Connect to a Machine
Machine Status:
| Symbol | Status |
|---|---|
 | Offline |
 | Available |
 | In Use |
- Open and log in to the Splashtop Business App.
- Select an available machine.
- Select the monitor icon
 to connect.
 - Enter your KU Online ID and password.
- Agree to the log in notice.
- Select Log in.
Navigate:
| Icon | Functionality |
|---|---|
 | Disconnects the session. Note: Does not log you out. Log out of the machine before disconnecting. |

| Indicates that a previous user did not log out properly. Note: this will display who else is logged in. |
 | Indicates additional monitors |
 | Shows the display monitor. If multiple monitors are available, choose a monitor and display preferences. |
 | Change the view settings. |
 | Toggle to full screen. |
 | Ctrl Alt Delete |
 | Start a session recording. |
 | Transfer files to and from the remote system. |
 | Additional settings |