Secure Sharing and Storage
Information Security Overview
Microsoft Teams, SharePoint and OneDrive are secure environments for storing most of your data.
Speak with your Tech Support staff before storing and/or sharing Critical data (formerly Level 1/Confidential).
General Security Best Practices
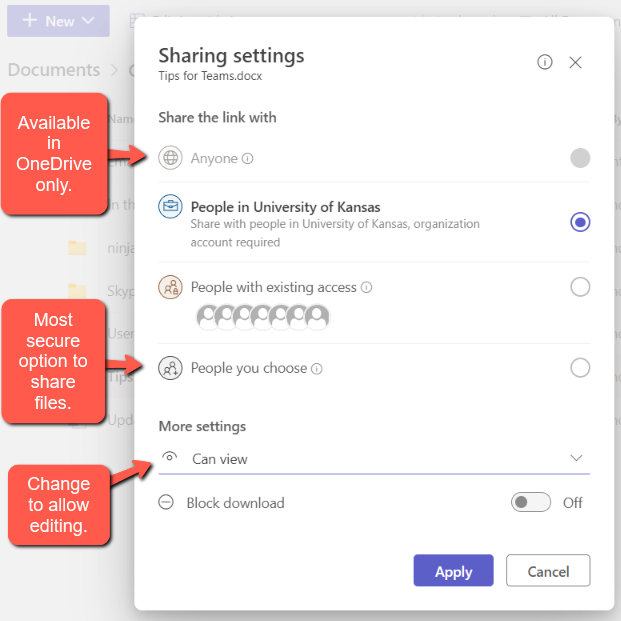
- Audit and manage access regularly either as individuals join or leave the university or at least annually.
- Share with the least amount of access.
- Review the critical data chart for sharing sensitive information.
- Contact your departmental Tech Support staff before sharing and storing sensitive information.
- Set-up a separate Team or SharePoint site for sharing outside of your department.
- Create a naming convention for files or folders that contain sensitive information.
- If you have any questions at any point during the sharing or storing process, please reach out to our IT Security Department.
- If you believe a security incident has occurred, please reach out to our IT Security Department or your departmental Tech Support staff.
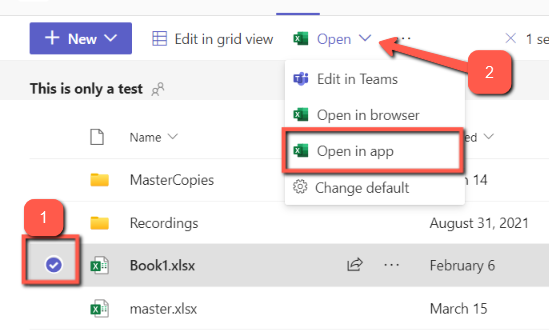
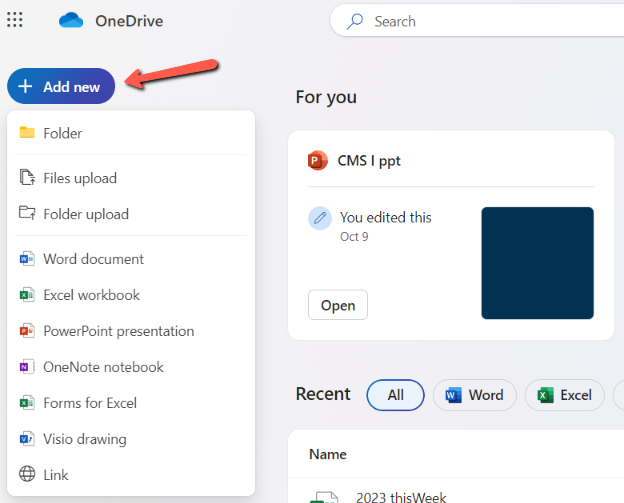
Upload Files
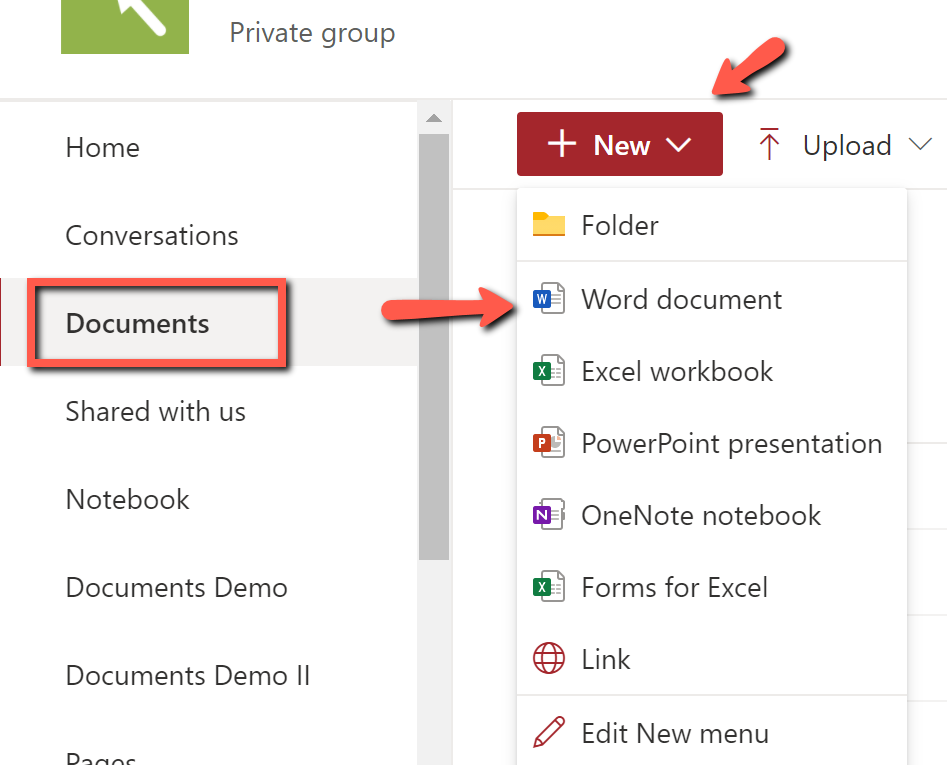
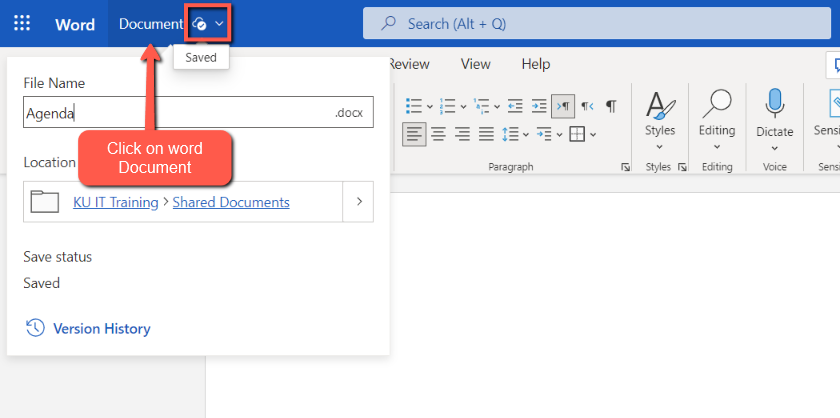
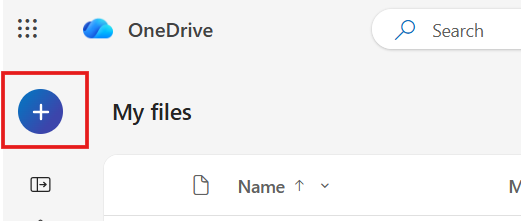
Create Files
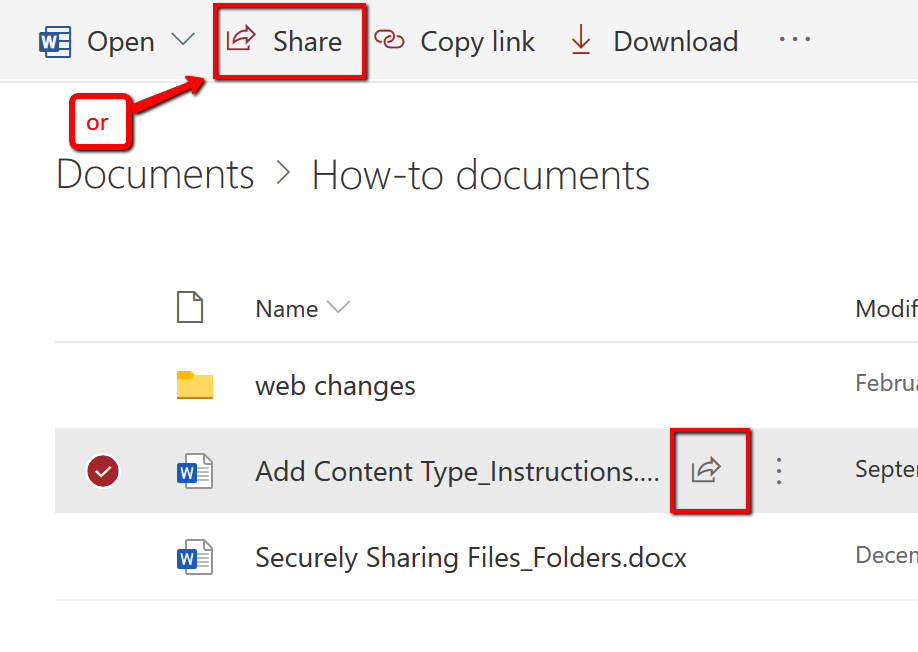
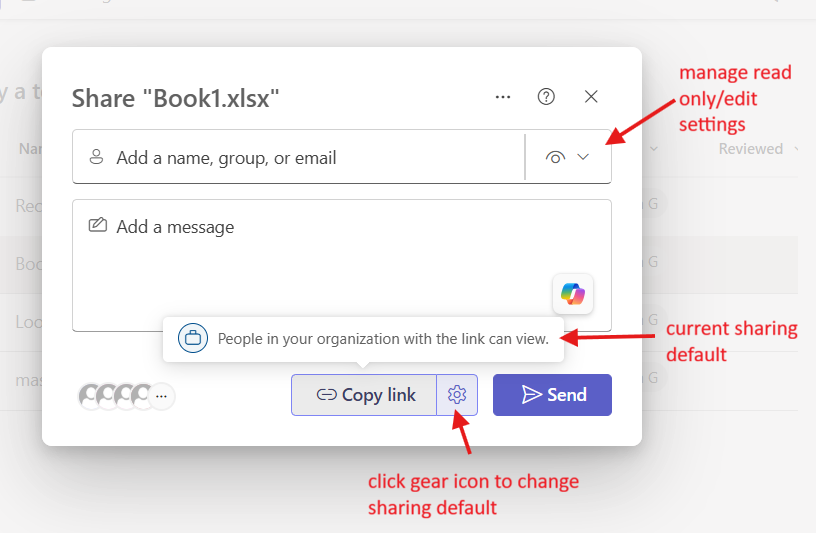
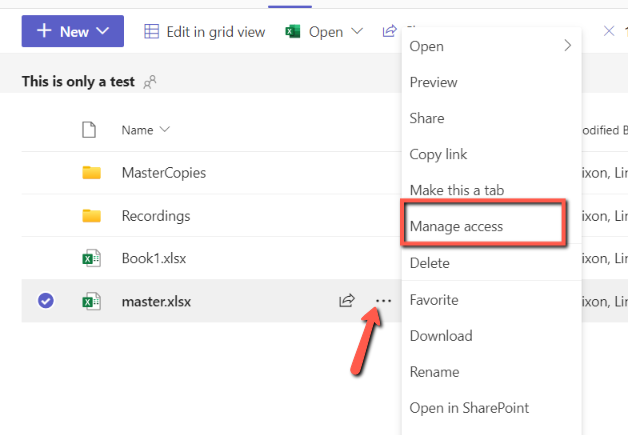
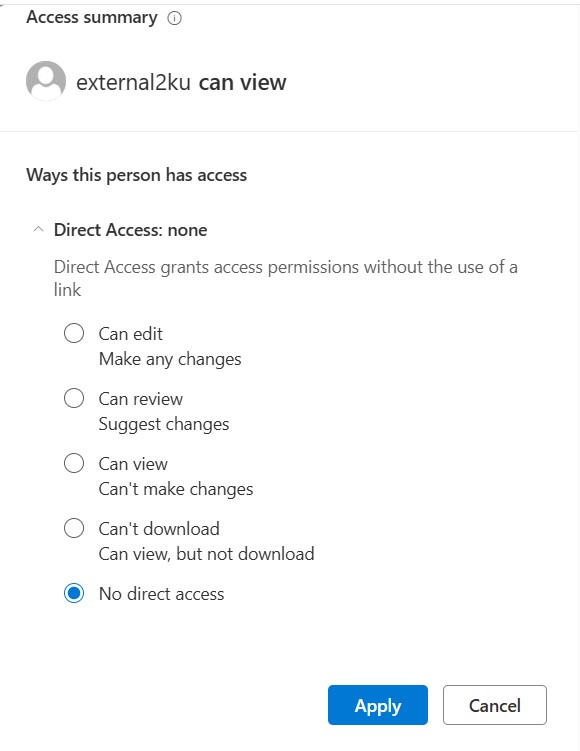
Share Files
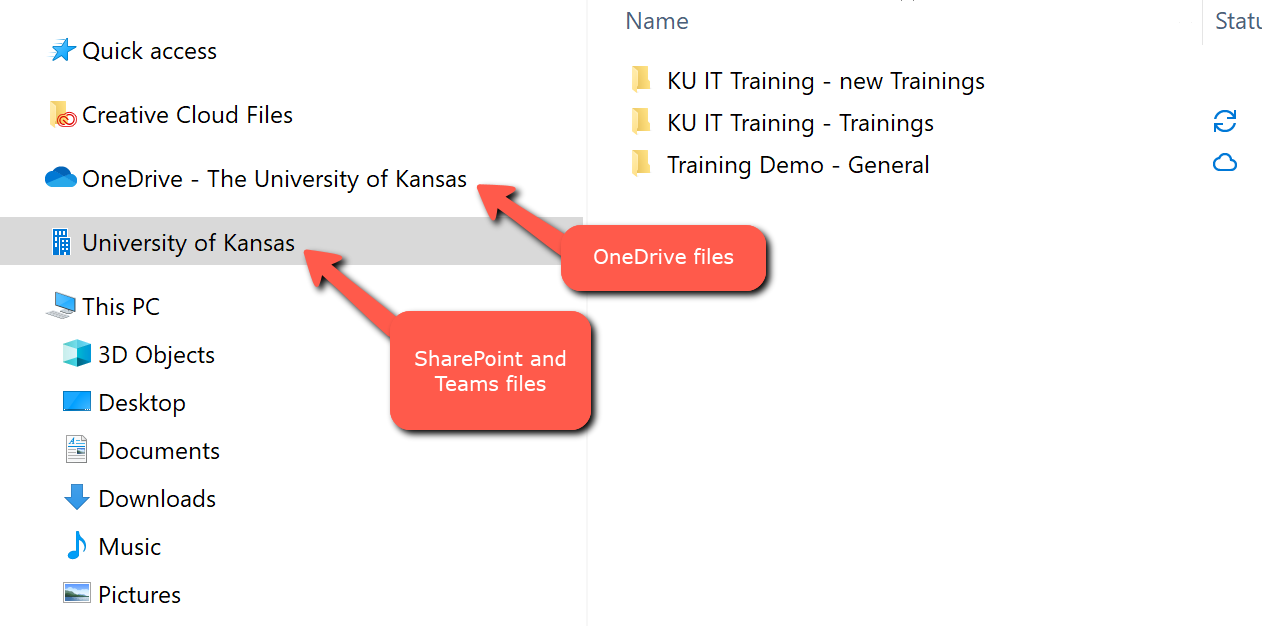
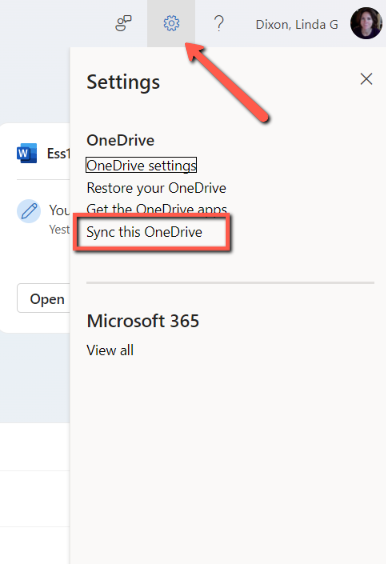
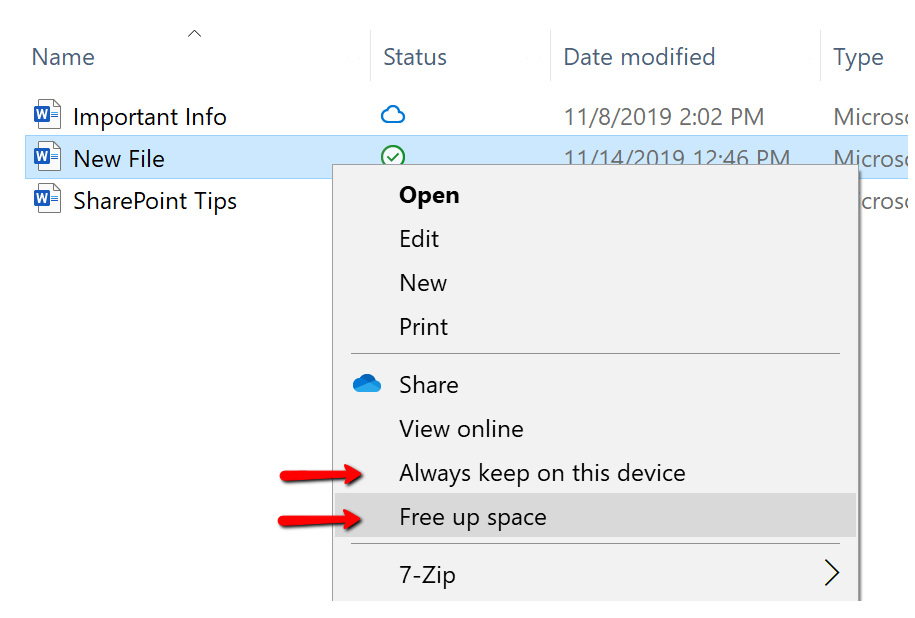
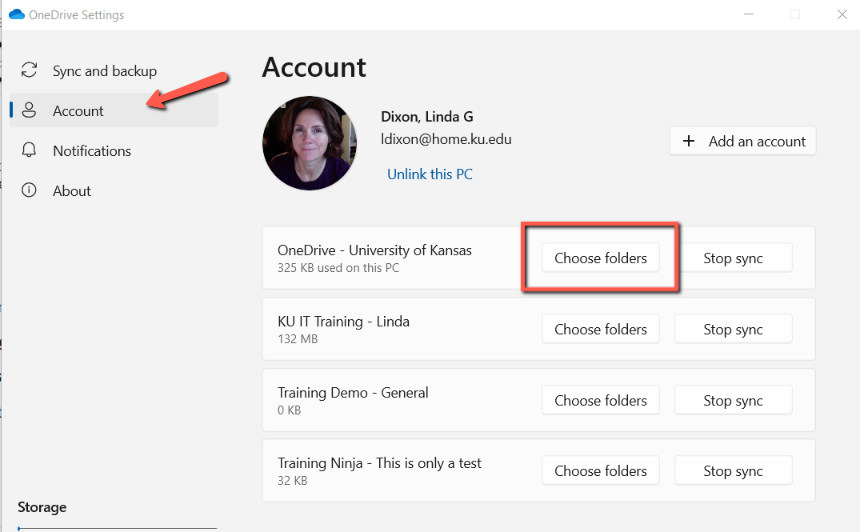
Sync Folders
Move Files
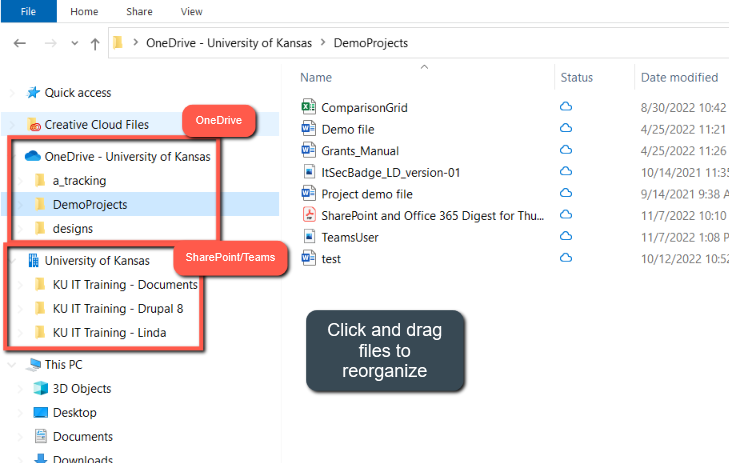
You can move files between OneDrive and SharePoint sites as well as between SharePoint sites. Files can be moved within the cloud apps or sync files to your local computer and organize from there.
Local Computer
To move OneDrive or SharePoint files from your local computer, make sure you have synced your folders from OneDrive or SharePoint.
- Open Finder (Mac) or File Explorer (PC).
- Click and drag files to new locations.
View Screenshot
Cloud Apps
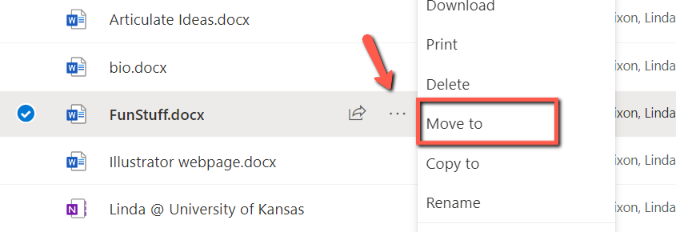
- To move files from your cloud apps, go to OneDrive or SharePoint where your file is located.
- Hover over the file you want to move, select the 3 dots to the right of the file name and select Move to.
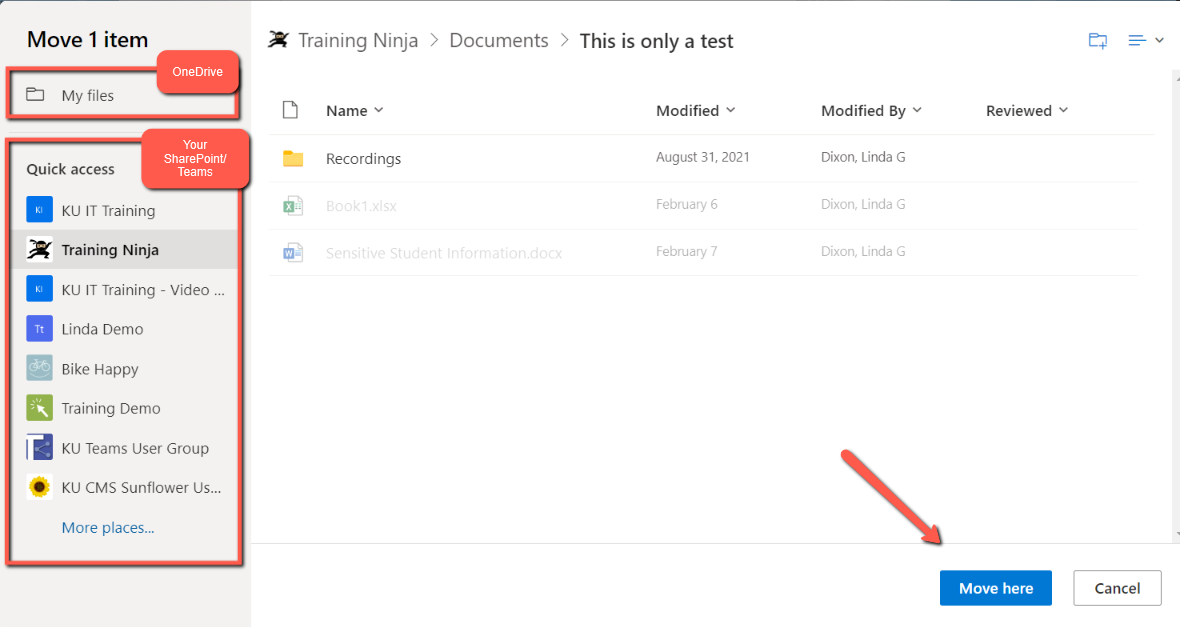
View Screenshot - Choose the location were you want to move your file.
View Screenshot
Support
For urgent matters call the IT Security Office from 8:00 a.m. to 5:00 p.m. M-F, or outside of business hours contact the IT Help Desk. For non-urgent matters anytime, email the IT Security Office.
IT Security Office, urgent: 785-864-9003 | After hours: 785-864-8080
IT Security Office, non-urgent: itsec@ku.edu