OneDrive
Overview
All KU Faculty and Staff are provided with a personal OneDrive for Business, allowing you to store and share files with others at KU and external to KU. You can manage whether the shared files can be downloaded, edited, or even accessed.
Access Your OneDrive
There are three ways to access OneDrive:
1. Icon from Your Taskbar
- Select the OneDrive icon in the bottom-right of your task bar on your PC or top-right of your menu bar on the Mac.
- Select View Online from the bottom of the panel.
2. Go to onedrive.ku.edu and sign-in
3. Microsoft 365 landing page
- Sign in to OneDrive at KU's App Landing page.
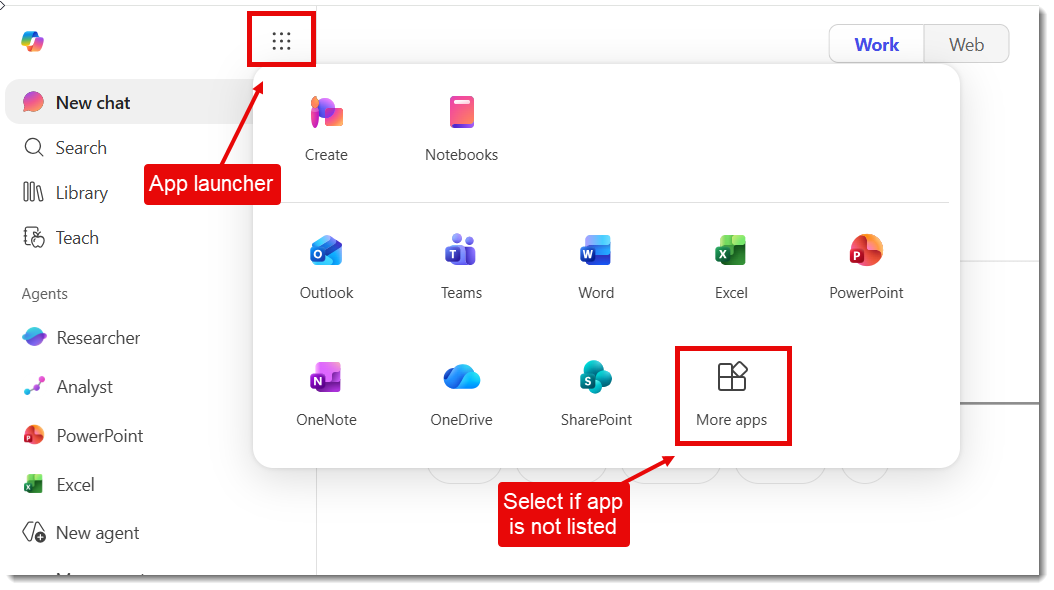
- Select App launcher icon at the top-left, then More Apps at the bottom-right if you do not see the OneDrive icon.
View Screenshot - Select OneDrive tile from the display of apps.
Limits and Restrictions
There are some file type restrictions as well as storage and syncing size limits. Microsoft is continually updating these limits, so to find the most up-to-date information, go to Microsoft's support page.
Compare OneDrive, SharePoint, and Teams
Some of Microsoft's apps have same or similar features and it can be challenging to know which app to use when. Check out our video to help explain the similarities and differences.
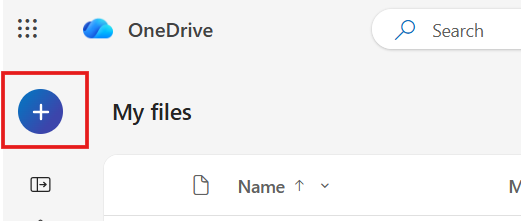
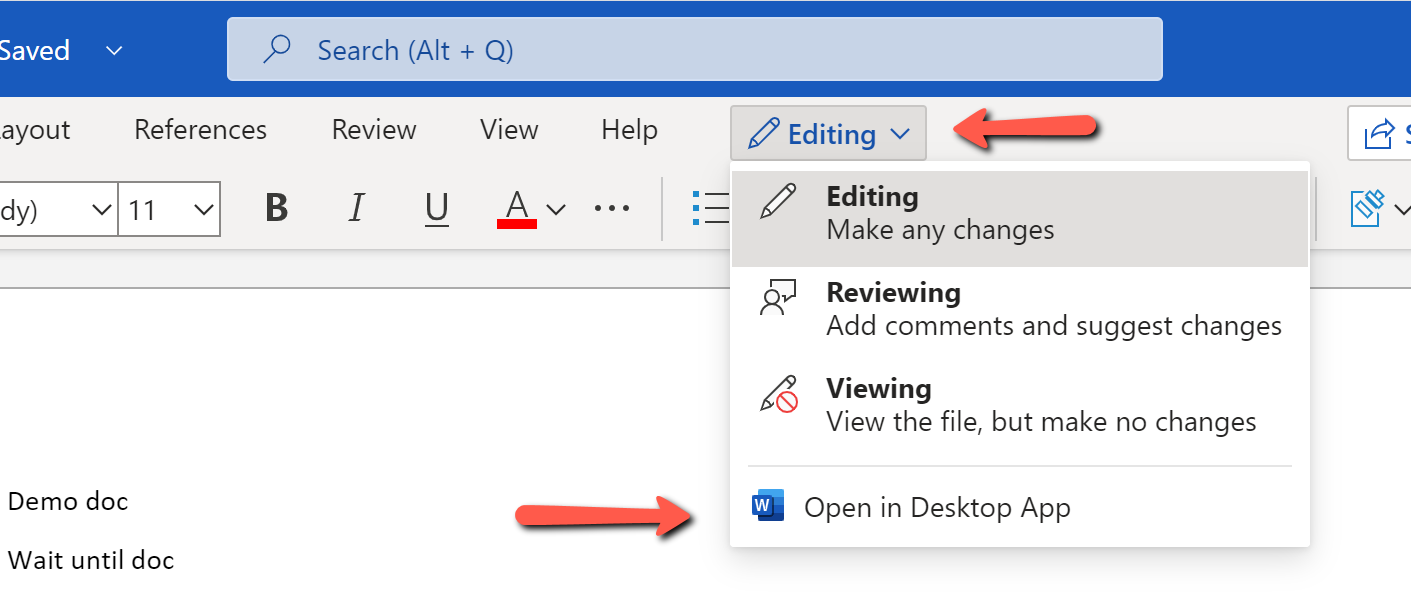
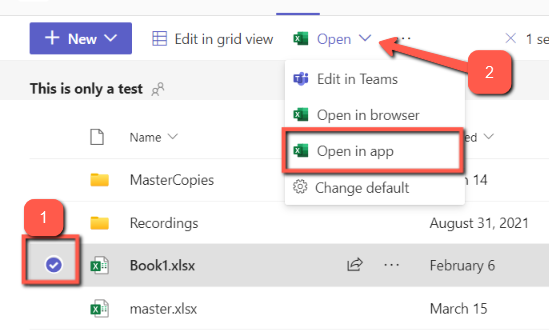
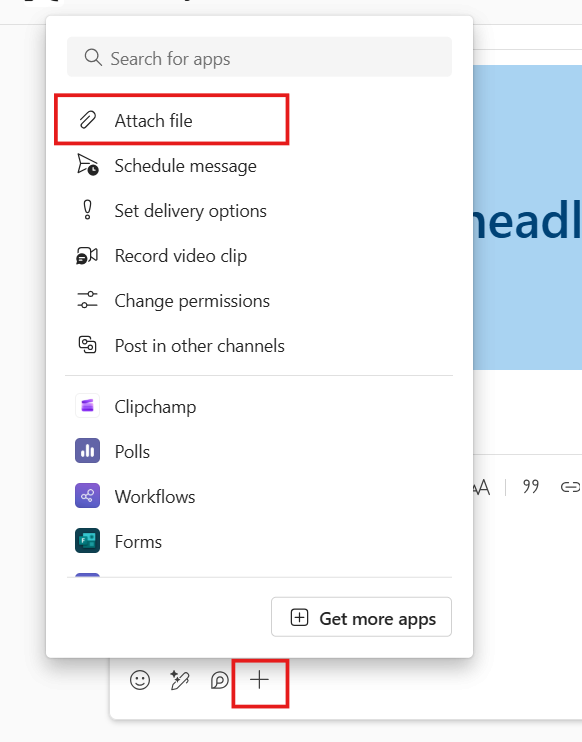
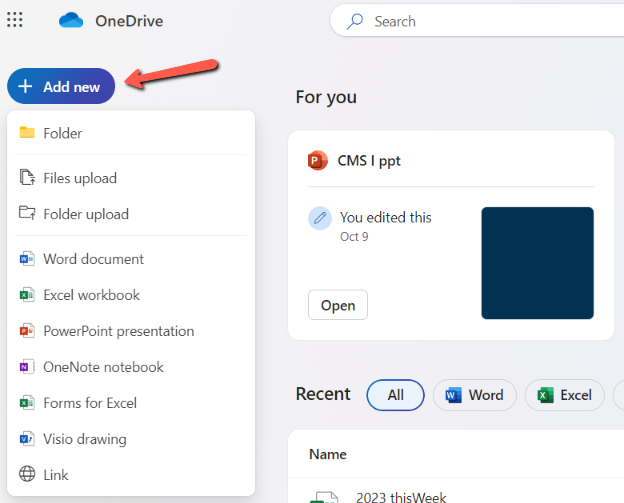
Create Files
Upload Files
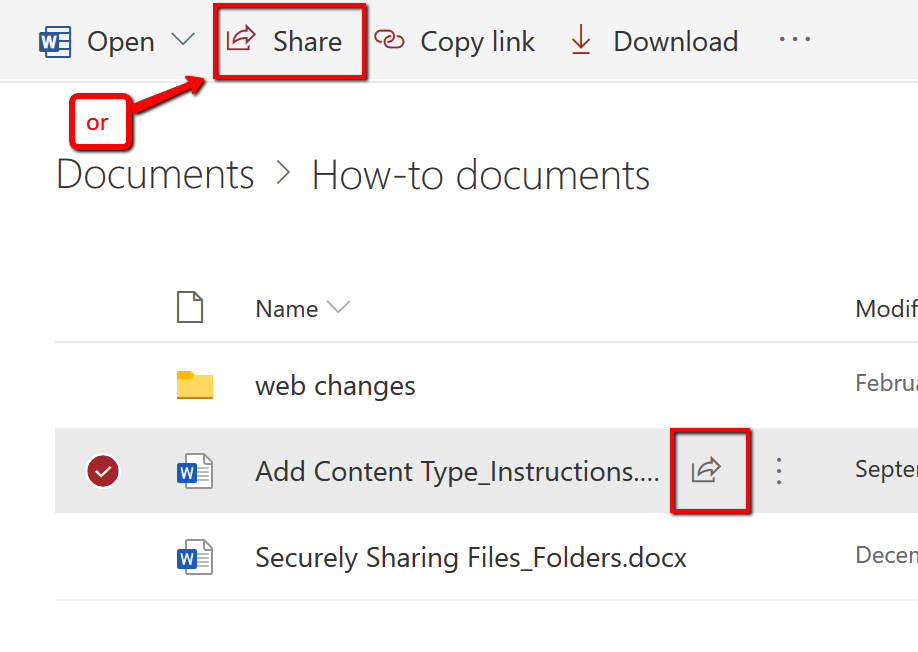
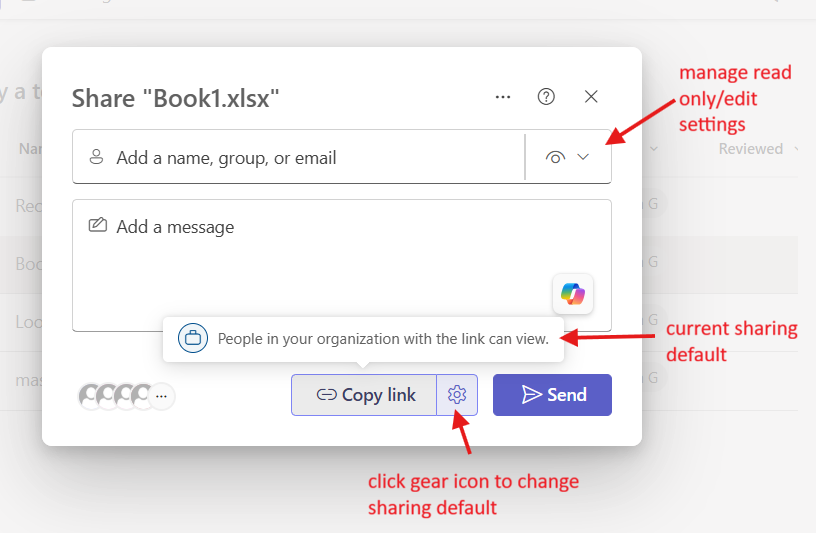
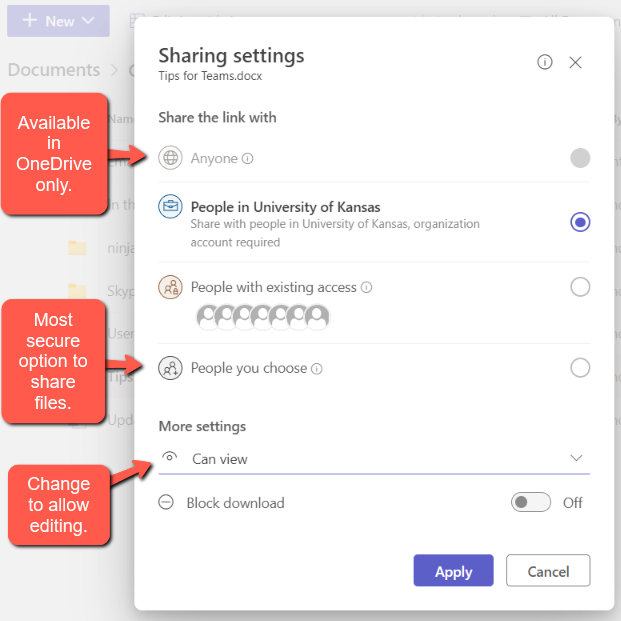
Share Files
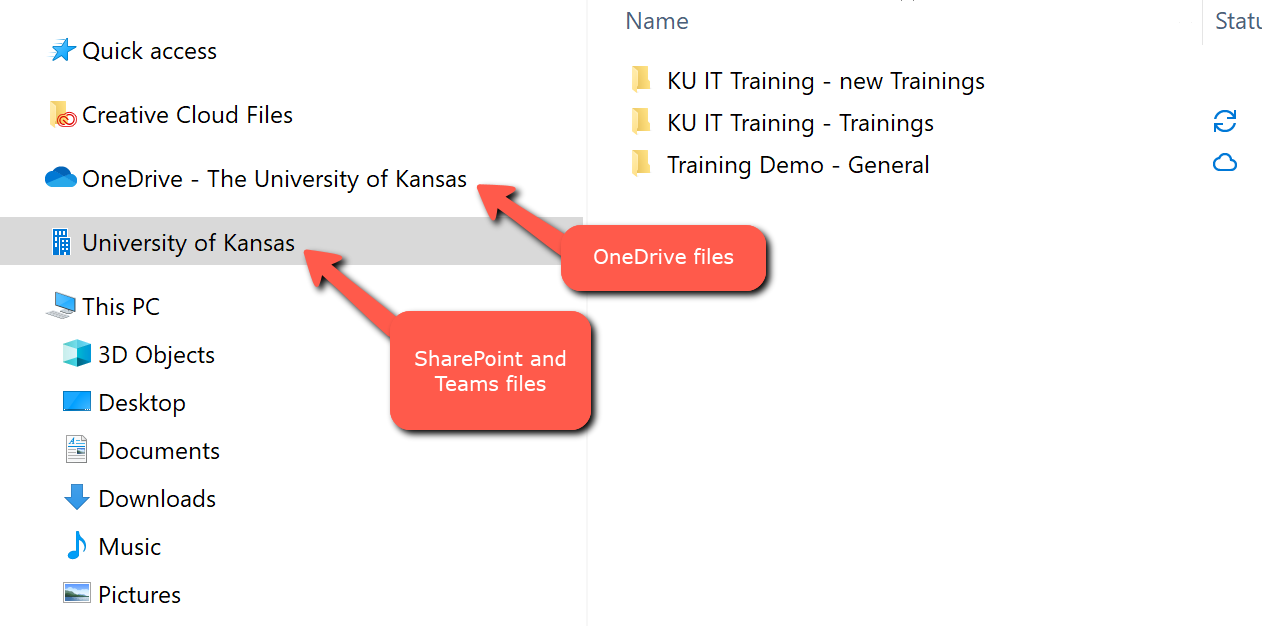
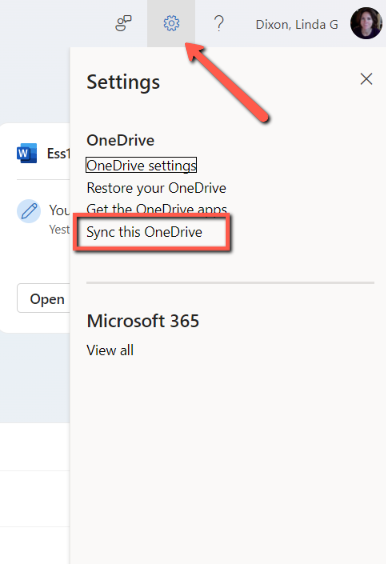
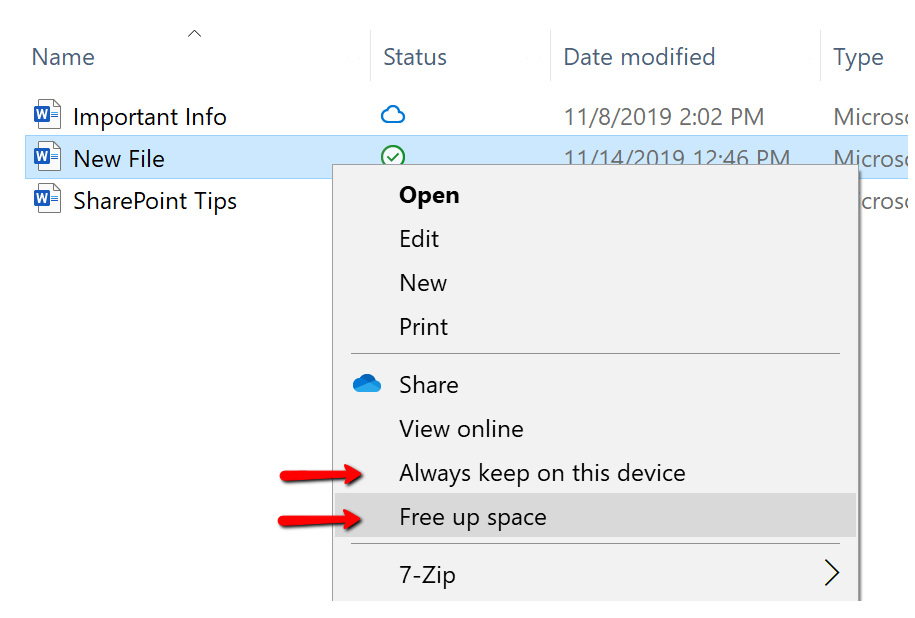
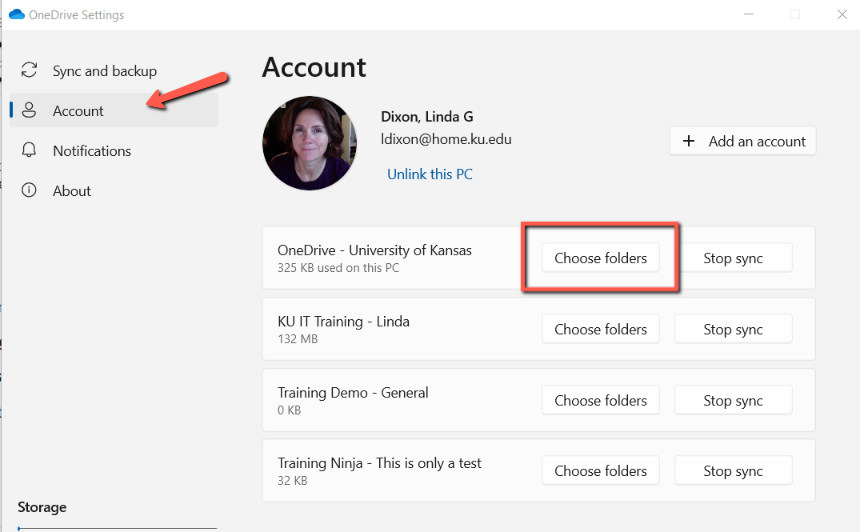
Sync Folders
Shortcuts from SharePoint
Create Shortcuts
You can create shortcuts to folders people have shared with you as well as folders in your SharePoint sites to access them all in one place in your OneDrive.
OneDrive Shared Folders
To create a shortcut to folders people have shared with you in OneDrive:
- Select the Shared link in the left panel.
- Hover over the desired folder, then select the circle to the left of the folder name. This will change the menu at the top.
- Select Add Shortcut to My files.
View ScreenshotSelect Add Shortcut to My files in the top menu or hover over file and select icon
Note, when you hover over a folder, this will show additional icons to the right of the file name, including the shortcut icon. You can select the icon from here to create the shortcut or from the top menu.
Shortcut from SharePoint Folders
Use the instructions above, but start from your SharePoint document library and select the shortcut icon.
Remove Shortcuts
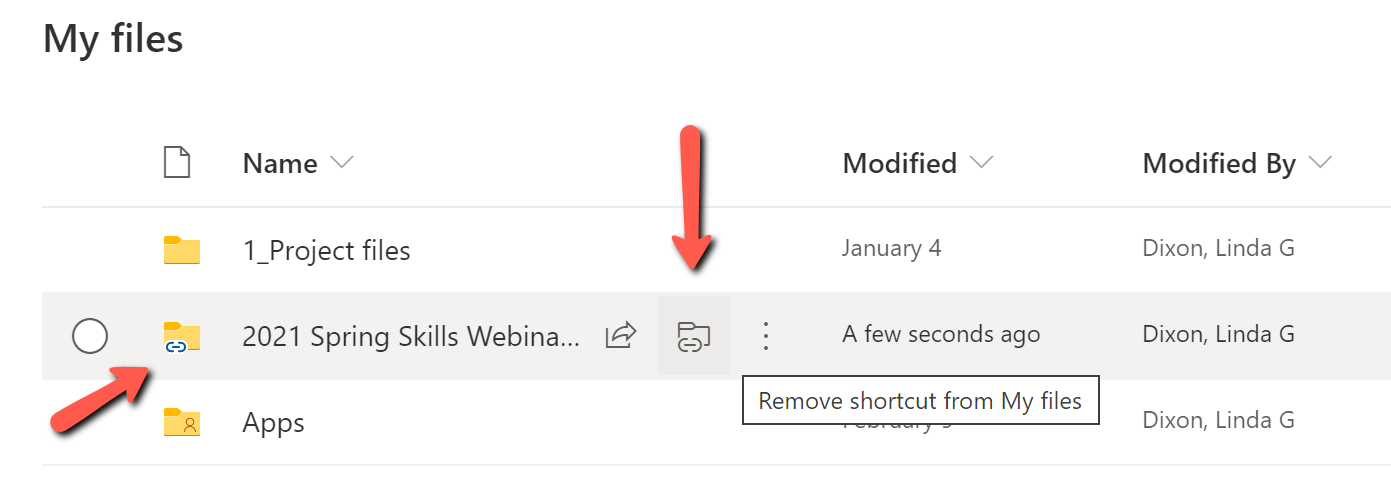
From your OneDrive, folders with shortcuts added have a blue link icon in the corner of the folder. If you wish to remove the shortcut, hover over the folder and select the shortcut icon to the right of the folder name.
View ScreenshotTo remove shortcut from OneDrive, hover over file and select the shortcut icon
Request Files
The Request files feature is currently available in OneDrive for Business, but is not available in SharePoint. With this feature, you can select a folder where others can upload files using a link that you send them. The users that you request files from do not need to have a OneDrive account to upload files, and they cannot see what's in the folder - they can only upload files to it.
Request Files from Others
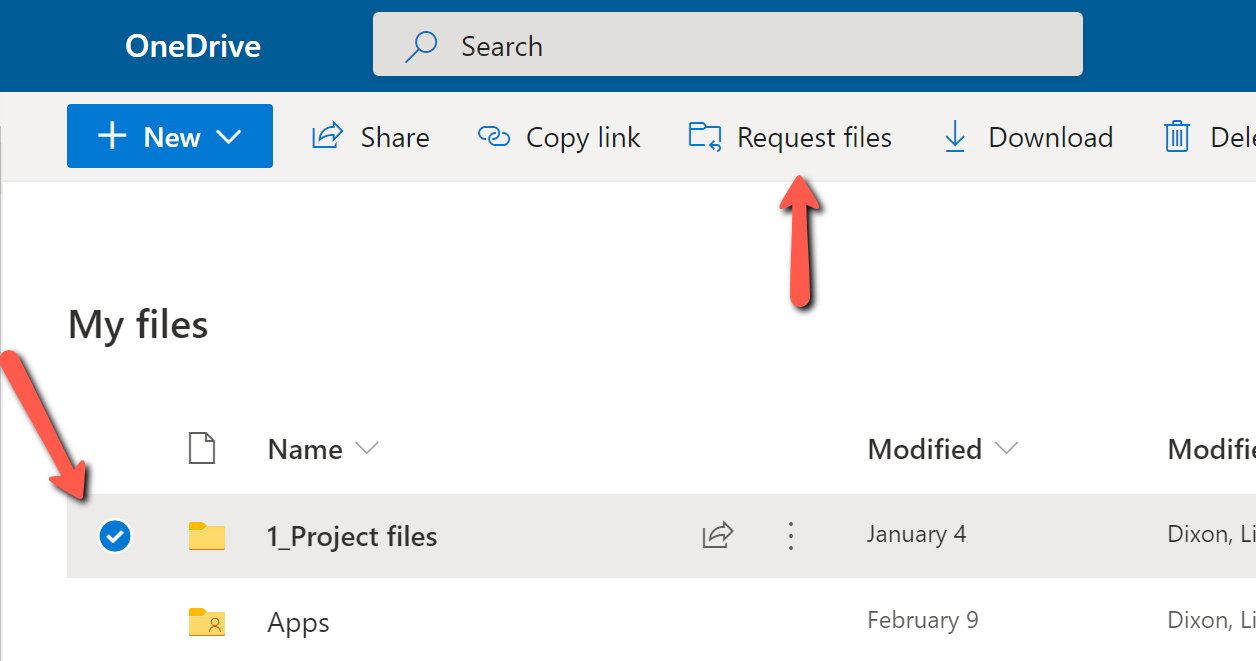
- Open your OneDrive for Business.
- Hover over the folder you want to add files to and select the far-left circle to select.
- Select Request files from the top menu.
View ScreenshotSelect Request files in the top menu - Enter a descriptive name of the files you're collecting.
- Select Next.
- You can choose Copy link and send it via email to the people you need files from or enter their email addresses to send via OneDrive.
- Select Done.
Recipients will select a button to upload the file(s). If the recipient isn't signed in to Microsoft, they will need to add their first and last name as a way to identify the uploaded files. If they are signed in, the identity is recorded as part of the upload.
Stop Requesting Files
Once you've received the files you need, you can delete the link.
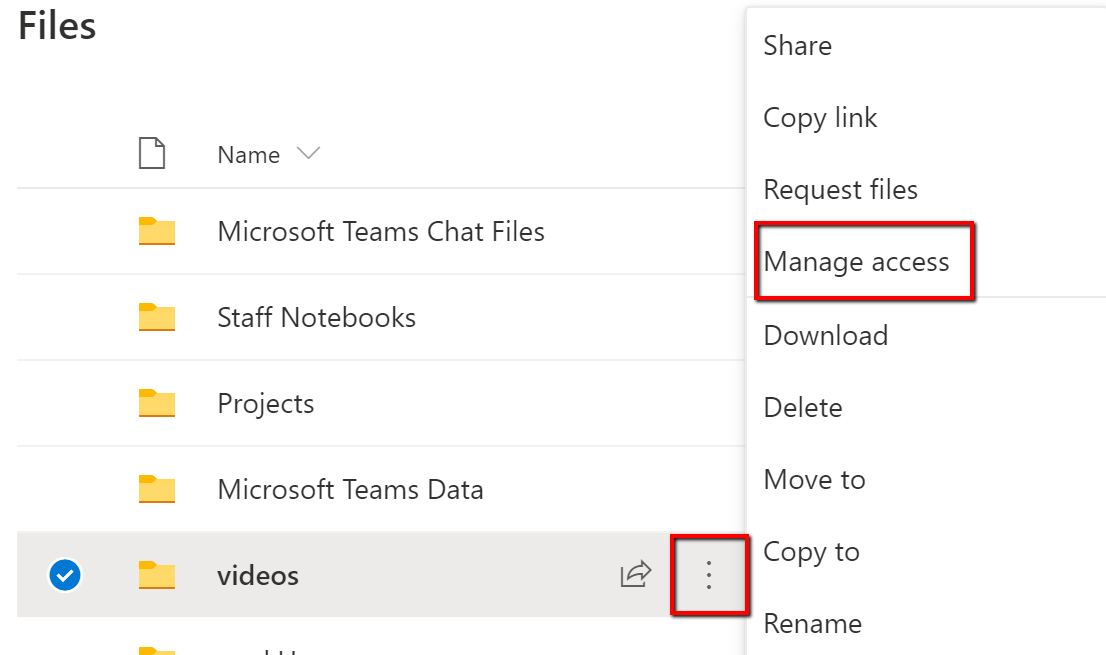
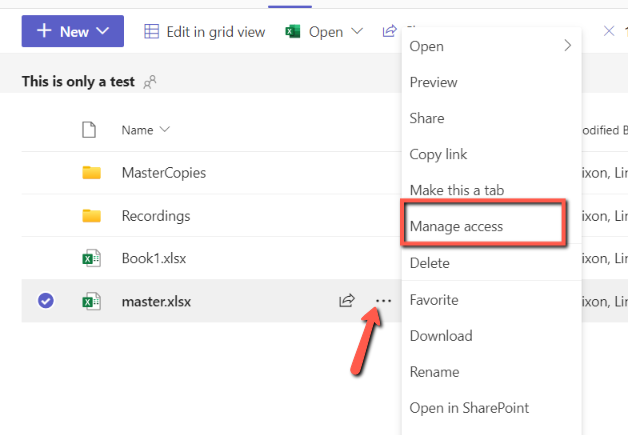
- Hover over the folder you want to remove the request link from and select More options [...].
View ScreenshotHover over file, select 3 dots, then select Manage access from menu - Select Manage access.
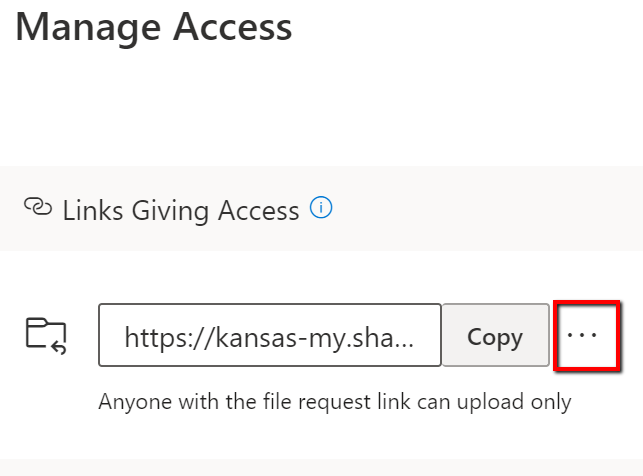
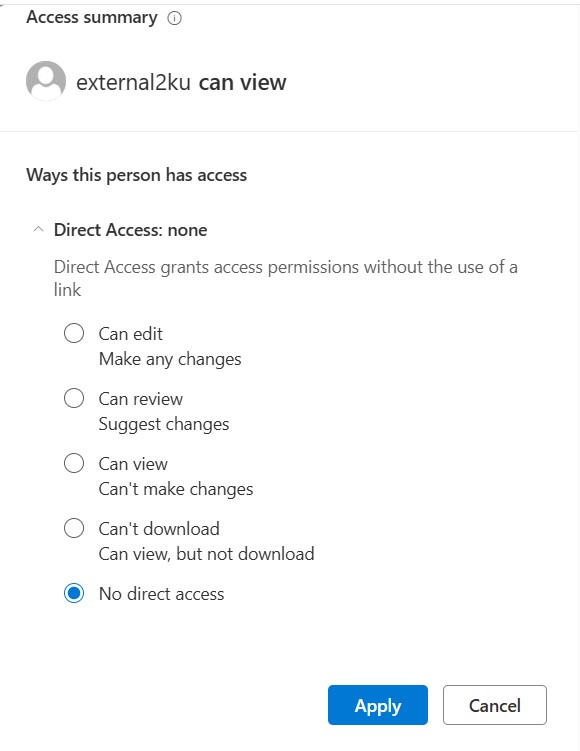
- Select More options [...] next to the request link.
View ScreenshotSelect the 3 dots to the right of the link to remove access - Select X next to the link.
- Select Delete link.
Support
Technical Support: ithelpdesk@ku.edu | 785-864-8080
Training Support: training@ku.edu | 785-864-5155